In today’s tech-driven world, smart home devices like the Universal Ceiling Fan Remote Control Kit by Senroyal are essential for convenience and comfort. This article delves into its features, benefits, and how it enhances your ceiling fan experience, bringing automation and ease right to your fingertips.
Product Features
| Feature | Description |
|---|---|
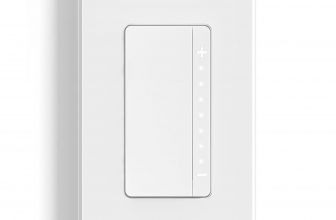
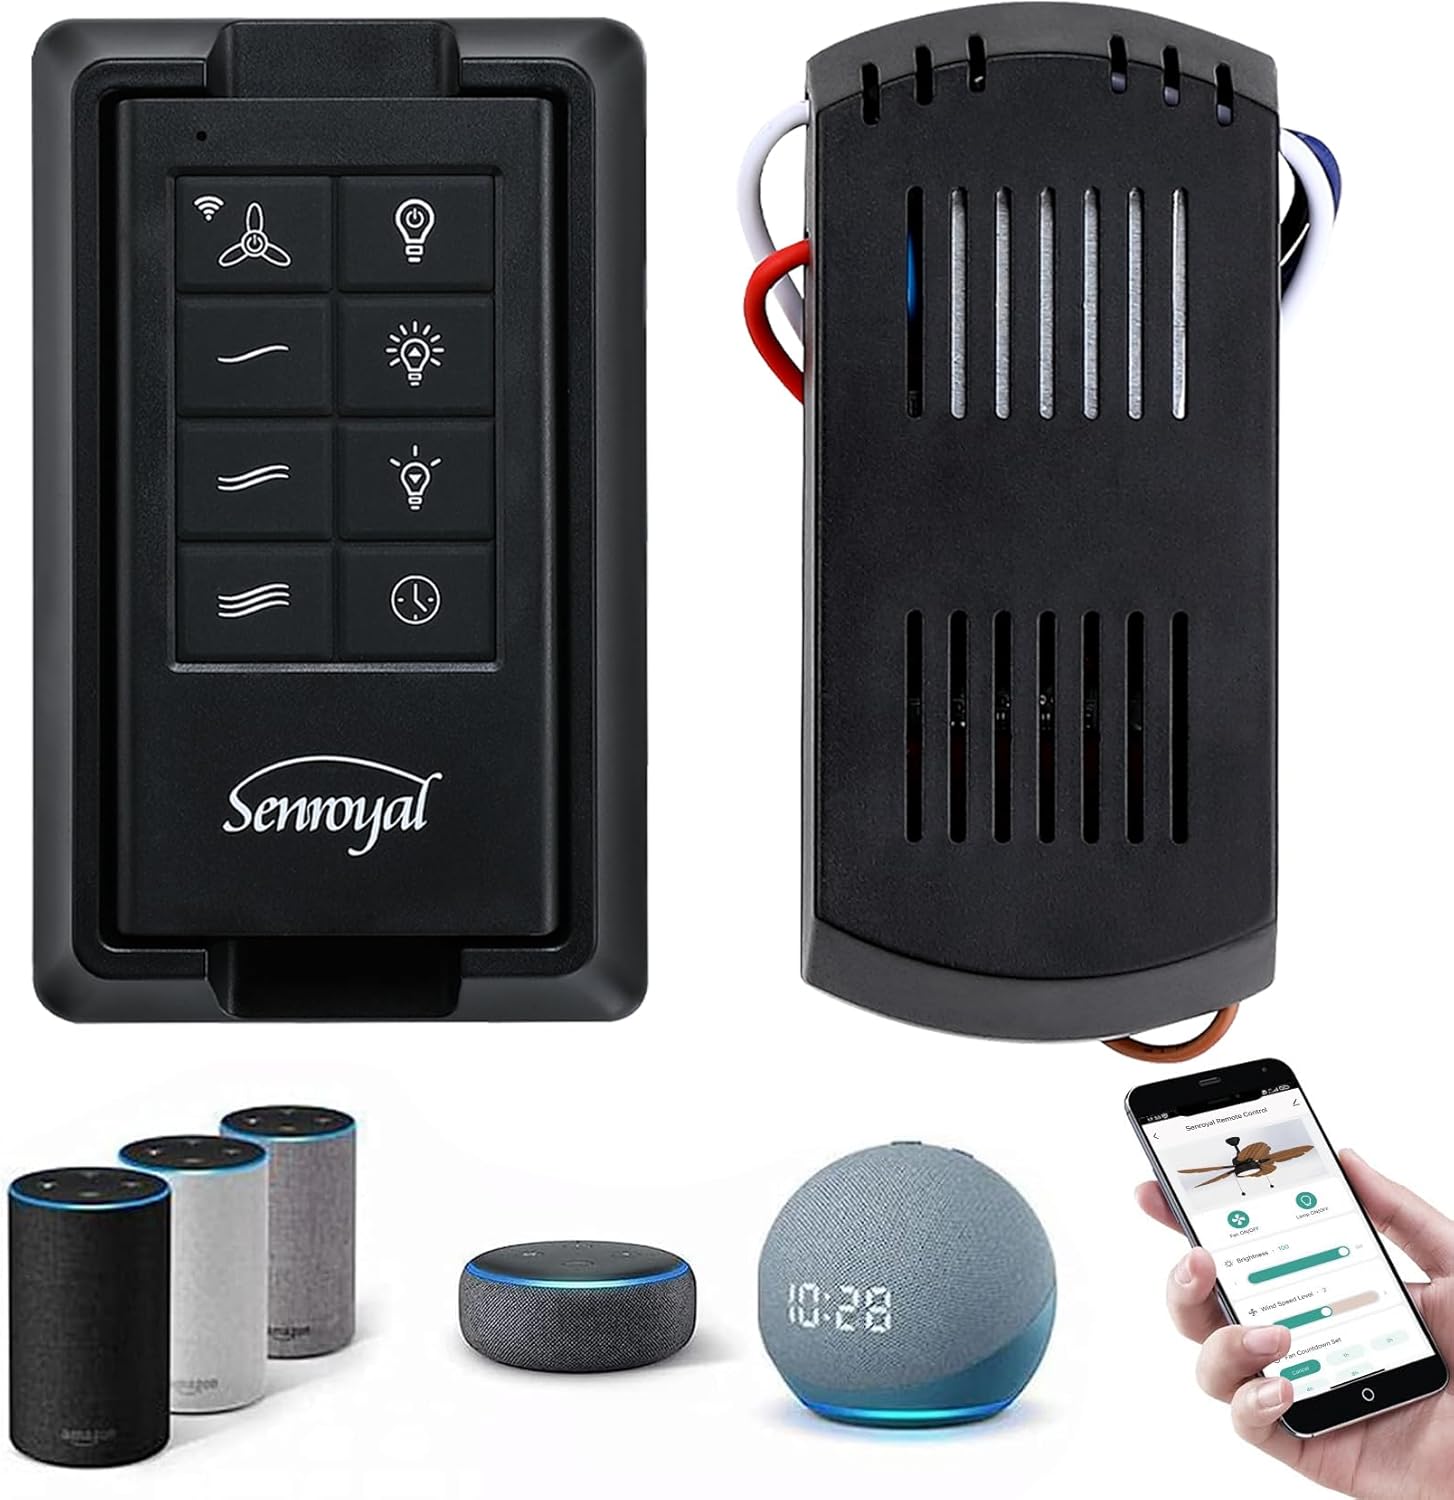
| Universal Remote Control | Smart control and dimmable light switch that can be operated through the Smart Life app, allowing for remote management of your ceiling fan and light. |
| Voice Control | Seamlessly integrates with Alexa and Google Home for effortless control through voice commands. |
| Timer and Dimming Options | Offers three fan speeds, a 1-8 hour timer, and smooth dimming control for optimal lighting effects. |
| Wide Compatibility | Works with most 3-speed AC ceiling fans including brands like Hunter, Harbor Breeze, and Hampton Bay. |
| Easy Installation | Includes a detailed instruction manual for simple setup, functioning effectively as a replacement remote. |
Product Overview
| Pros |
|---|
| Easy installation with comprehensive instructions |
| Seamlessly integrates with smart home ecosystems |
| Offers dimming and timer functionalities |
| Compatible with many ceiling fan brands |
| Remote and voice control options enhance usability |
| Cons |
|---|
| Initial Wi-Fi pairing can be challenging |
| Limited control through voice commands initially |
| Requires compatible dimmable LED bulbs for light dimming |
Understanding the Need for Smart Controls
When it comes to installing and optimizing your Universal Ceiling Fan Remote Control Kit, I find the process to be both straightforward and rewarding. First, ensure you have the correct tools at hand: a screwdriver, wire connectors, and, ideally, a voltage tester.
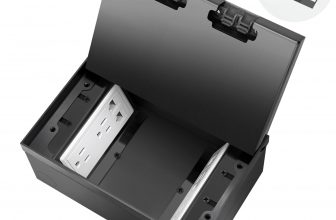
Start by turning off the power at the circuit breaker to your ceiling fan. This is important for safety, as you don’t want to risk electric shock. Once the power is off, remove the fan’s light bulb fixtures if present, detaching the fan from its ceiling mount. Next, you’ll need to locate the existing wires connected to your fan. It’s usually a standard color scheme—black for the fan, blue for the light, and white for neutral. Connect these wires to the corresponding wires on the remote control receiver, ensuring you follow the instructions in your kit closely.
Once everything is secured and the receiver is properly tucked away in the fan’s canopy, you can reattach the fan to the ceiling and restore the power. Now, it’s time to optimize your settings using the Smart Life app. By linking the remote to your Wi-Fi, you can control your ceiling fan settings right from your smartphone. Not only does this enhance convenience, but it also makes it easier to program schedules or adjust the fan speed from anywhere in the house.
If you encounter any common issues, like the remote not responding, double-check your connections and verify that the batteries are correctly installed. You might need to reset the receiver, which can typically be done using a combination of button presses outlined in your manual. The Smart Life app provides additional features, such as creating scenes or integrating with other smart devices, making your ceiling fan not only a source of comfort but also an integrated part of your home automation system. Maximizing compatibility with existing devices can add layers of convenience and energy efficiency, showcasing how modern technology reshapes our daily living.
How to Install and Optimize Your Universal Ceiling Fan Remote Control Kit
Installing the Universal Ceiling Fan Remote Control Kit can transform your ceiling fan experience, allowing for greater ease and flexibility. To start, ensure that the power is completely turned off at the breaker box to avoid any electrical hazards. You’ll want to gather the necessary tools: a screwdriver, wire nuts, and a voltage tester for safety.
First, carefully remove the ceiling fan’s switch canopy, exposing the wiring connections. Next, disconnect the existing wall switch and identify the wires: typically, they include a hot wire, a neutral wire, and the ground wire. You can use a voltage tester here to confirm that the power is indeed off.
Now, take the wiring harness from your remote control kit. Connect the corresponding wires: the hot wire from the house to the hot wire of the kit, then connect the neutral wires together, and lastly, secure the ground wire. Make sure to use wire nuts to ensure safe and sound connections. After wiring is complete, tuck all the connections neatly back into the canopy and reattach it securely.
Upon installation, turn the power back on and test the remote. If any issues arise—like the fan not responding—check that all connections are tight and correctly matched.
To optimize the settings using the Smart Life app, connect the remote control to your Wi-Fi network. This will enable you to control your fan from your smartphone, setting schedules, and adjusting speeds from anywhere in your home. Make sure to explore features like adjustable brightness and timer settings to maximize efficiency. Also, check for firmware updates within the app for improved performance. This not only enhances your comfort but also integrates seamlessly with your existing home automation system, making every aspect of your environment controllable at your fingertips.
Conclusions
The Universal Ceiling Fan Remote Control Kit by Senroyal elevates your ceiling fan experience, offering smart control and convenience. Despite some initial setup challenges, its plethora of features such as voice compatibility and timer settings make it an excellent choice for any modern home. I highly recommend it for those looking to enhance their living space with smart technology.