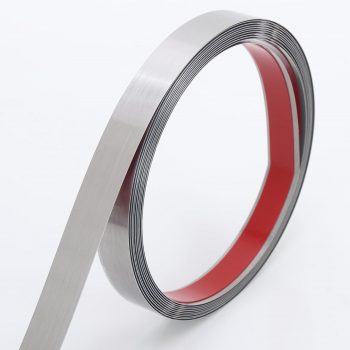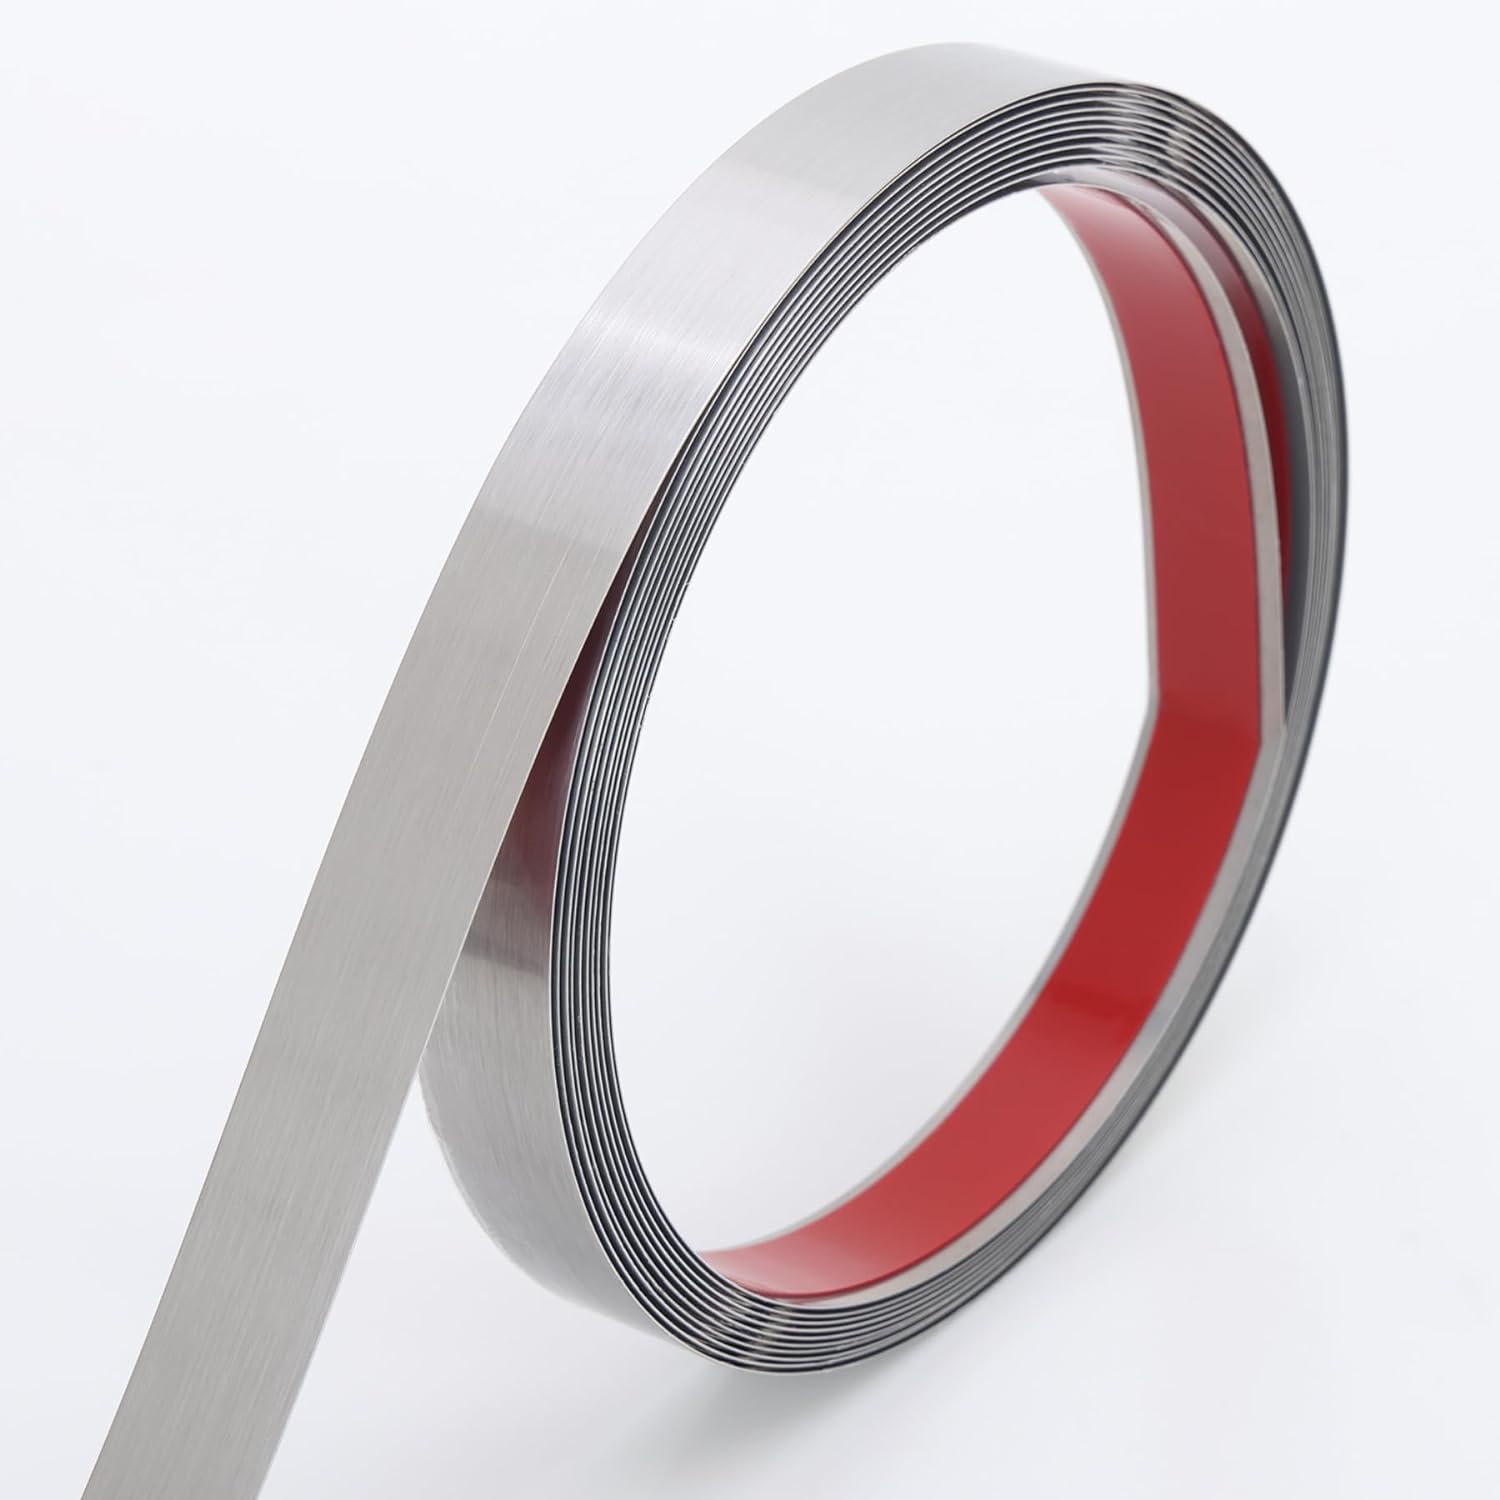
Enhancing your living space has never been easier with the Peel and Stick Metal Molding Trim by Coengwui. This innovative DIY product allows you to elevate the aesthetic appeal of your walls, fireplaces, and mirrors effortlessly. In this article, we’ll delve into its features, applications, and practical benefits, enabling you to make an informed decision.
Product Features
| Feature | Description |
|---|---|
| Material | Premium Stainless Steel |
| Length | 20ft |
| Width | 1in |
| Installation | Effortless Peel & Stick |
| Features | Waterproof, Moisture-proof, Corrosion-resistant, Scratch-resistant |
| Special Coating | 8K Mirror Coating |
| User Tips | Use a hairdryer to enhance stickiness |
Product Overview
| Pros |
|---|
| Easy to apply and remove |
| Versatile for various surfaces |
| Durable and waterproof |
| Adds elegance and modern appeal |
| Low maintenance and easy to clean |
| Cons |
|---|
| Can be sharp during handling |
| Requires careful cutting |
| Initial adhesion may need reinforcement |
Understanding the Benefits of Metal Molding Trim
When you decide to enhance your space with Peel and Stick Metal Molding Trim, a few practical steps can ensure a seamless installation process. First, I recommend preparing the surfaces where you’ll apply the trim. Make sure the area is clean, dry, and free from any dust or grease, as this can affect adherence. A simple solution is to use a mild cleaner and a lint-free cloth.
Next, measure and cut your trim to fit the desired areas. It’s essential to take your time with this step, as precise cuts will lead to a polished look. To minimize the risk of errors, start with longer pieces and work your way down to smaller sections. Additionally, when peeling off the backing, avoid touching the adhesive side to maintain its stickiness.
As for installation, I suggest starting at a corner or edge, aligning the trim carefully before applying pressure. This method allows for adjustments if needed. Once attached, run your finger along the trim to ensure it bonds well with the surface.
Maintenance is straightforward; just wipe it down with a damp cloth to keep it looking fresh. However, be cautious with harsh chemicals, as they can damage the finish. Lastly, if you notice any lifting at the edges, simply press it back down firmly. Following these tips will help you enjoy your beautiful new trim for years to come.
Tips for Installation and Maintenance
When diving into the installation of Peel and Stick Metal Molding Trim, preparation is key. First, I recommend thoroughly cleaning the surface where the trim will adhere. Use a mild detergent to remove dust, grease, or old adhesives. Once the area is dry, take measurements to ensure precise cuts. I’ve found that using a level during this step can greatly enhance the aesthetic outcome.
When it comes to installation, I suggest starting at one corner and working your way around the room. Slowly peel back the backing from the trim as you press it onto the surface, ensuring to use a firm, even pressure to avoid air bubbles. If you encounter a stubborn air bubble, a soft cloth can help push it out, ensuring a smooth application.
Maintenance is straightforward. A simple wipe-down with a damp cloth will keep it looking fresh. I always advise against using abrasive cleaners, as they can scratch the surface of the trim. One common issue I’ve seen is the trim peeling away over time. To prevent this, ensure you avoid locations with high moisture or temperature fluctuations, like bathrooms or near stoves. Remember, a little care goes a long way in preserving the beauty of your new molding trim.
Conclusions
The Peel and Stick Metal Molding Trim by Coengwui not only offers an easy and elegant solution for home decoration but also proves to be a practical choice for DIY enthusiasts. By considering the pros and cons along with installation tips, you can confidently enhance your living space with this stylish metal trim.

