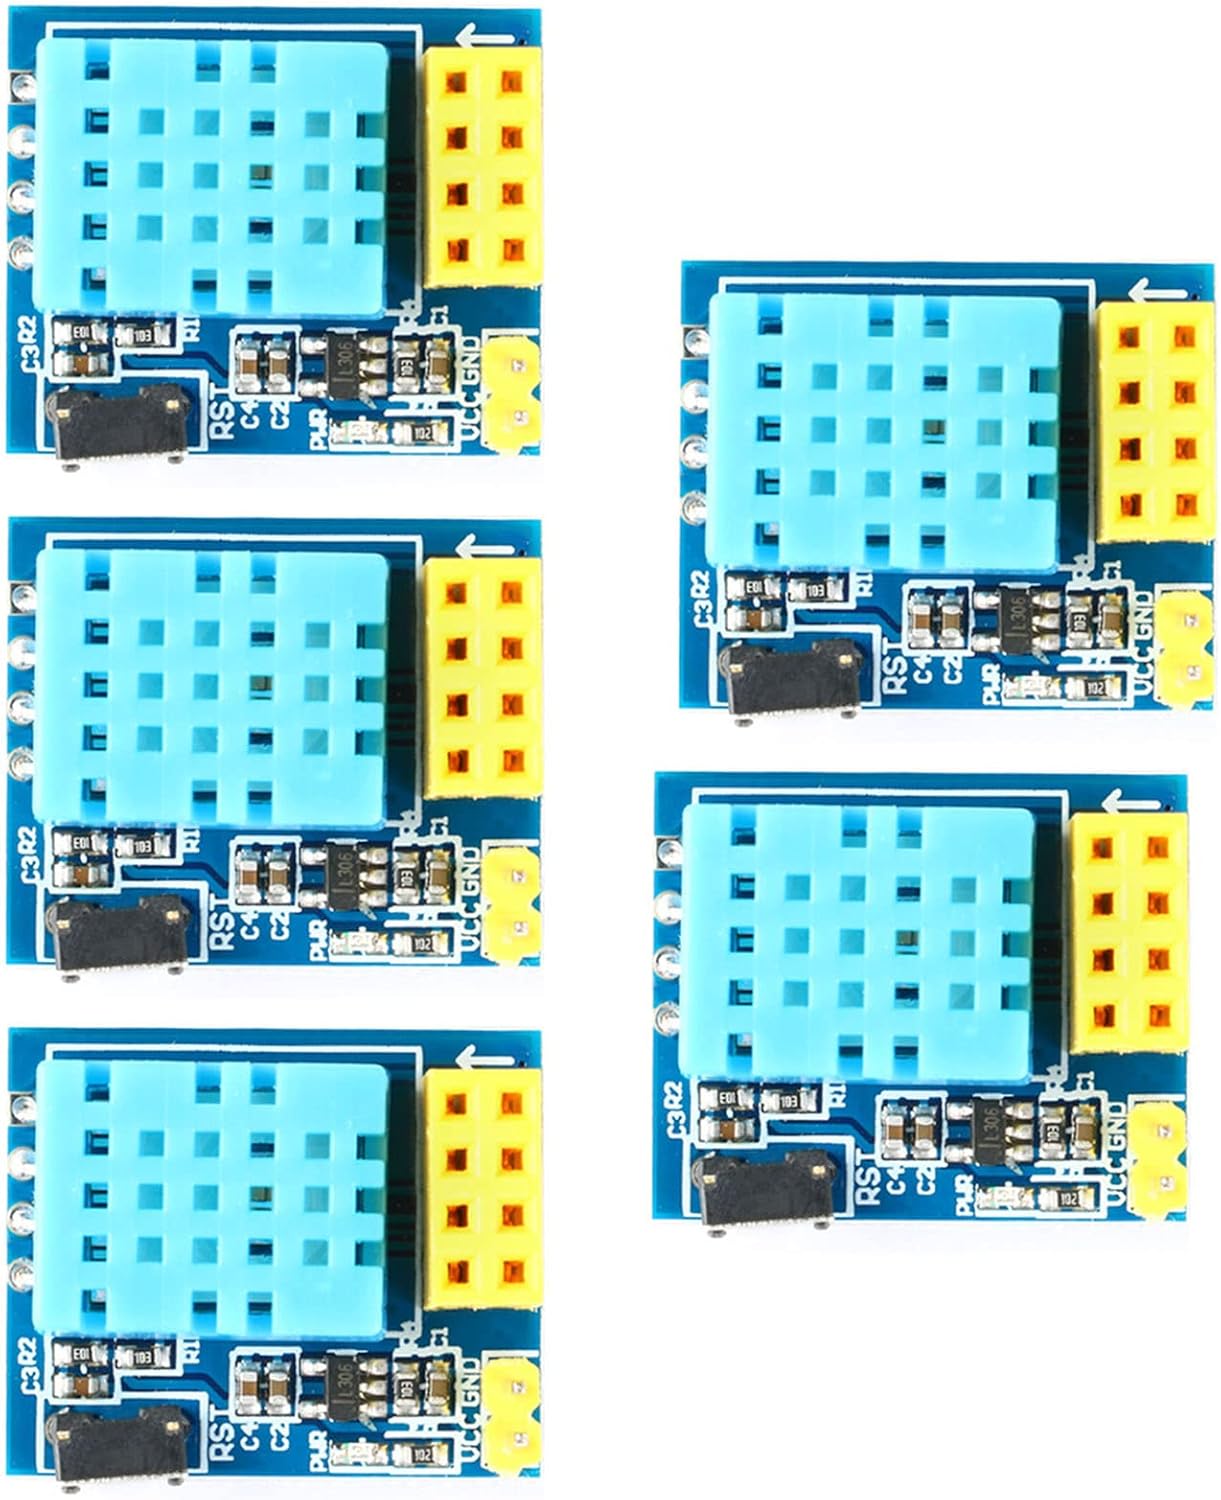
The 5Pcs DHT11 Sensor Module is an impressive device touted for its ability to measure temperature and humidity efficiently for smart home applications. In this article, I will explore its features and specifications in detail, along with its advantages and disadvantages for potential users.
Product Features
| Feature | Specification |
|---|---|
| Master Control | ESP-01/ESP-01S (module not included) |
| Sensor Type | DHT11 Temperature and Humidity Sensor |
| Working Voltage | DC 3.7V-12V |
| Measuring Range | 20% – 90% RH; 0℃ – 50℃ |
| Measurement Accuracy | Temperature: ± 2℃; Humidity: ± 5% RH |
| Power Supply | 3.7V lithium battery compatible |
Product Overview
| Pros |
|---|
| Compact and lightweight design |
| Easy integration in smart home projects |
| Affordable and efficient temperature and humidity monitoring |
| Cons |
|---|
| ESP-01 can generate heat, affecting sensor readings |
| Requires specific programming for setup |
Understanding the DHT11 Sensor Module
The installation process for the DHT11 Sensor Module is straightforward, making it an excellent choice for beginners in the smart home arena. To start, you’ll need a few essential components, including the DHT11 sensor, the ESP-01/ESP-01S WiFi module, and a microcontroller, typically based on the Arduino platform. Connection wires will also be necessary for facilitating communication between these components.
First, I begin by wiring the DHT11 sensor to the ESP module. Normally, I connect the data pin of the DHT11 to a specific GPIO pin on the ESP-01, while also ensuring proper connectivity for power and ground. Once the connections are established, I power up the system and upload the necessary code to the ESP module. This code will allow the sensor to begin reading data and sending it through the WiFi network.
In terms of practical applications, the DHT11 Sensor Module excels at monitoring indoor climate conditions. Whether I am checking the humidity levels in a greenhouse or ensuring optimal temperature in a living room, this module’s accuracy and responsiveness are vital. The data collected can easily be fed into other IoT devices or systems, allowing for automated responses based on environmental conditions, such as activating a fan when humidity is too high.
However, during installation, troubleshooting can arise. Common issues include incorrect wiring or software configuration. To ensure optimal performance, I recommend double-checking connections and confirming that the code matches the pin configuration used. It’s essential to have a reliable power source as fluctuations can affect the sensor’s readings. Remember, attention to detail during setup can significantly enhance the effectiveness of your smart home project.
Installation and Practical Applications
Installation of the DHT11 Sensor Module is straightforward, but following a few essential steps can make the process seamless. First, ensure you have all the components ready: the DHT11 sensor, a microcontroller (like an ESP8266 or Arduino), jumper wires, and a breadboard if needed. Start by connecting the sensor’s pins to your microcontroller. Typically, the DHT11 has three pins: VCC (power), GND (ground), and DATA (signal). I recommend connecting the VCC pin to a 5V source, the GND to the ground, and the DATA pin to a digital input pin on your microcontroller.
Once the physical connection is established, you’ll need to write a simple code or upload an existing library that supports DHT11 sensors. This code will allow the ESP module to read temperature and humidity data. It’s crucial to include the related libraries in your code to communicate effectively with the sensor.
In terms of practical applications, I find the DHT11 Sensor Module incredibly valuable for smart home projects. It helps monitor indoor climate conditions, ensuring a comfortable living environment. For instance, I can integrate the DHT11 with a home automation system to trigger a smart fan or HVAC system when humidity levels rise above a certain threshold, promoting efficient energy use.
However, it’s worth noting a few troubleshooting tips to ensure optimal performance. If the sensor doesn’t seem to provide accurate readings, double-check your wiring and ensure proper library integration. Sometimes, external factors, such as extremely high humidity or extreme temperatures, can affect sensor accuracy, so consider recalibrating your device if readings appear off. By following these guidelines, you can maximize the utility of your DHT11 in any smart home project.
Conclusions
In conclusion, the 5Pcs DHT11 Sensor Module is an outstanding choice for anyone interested in building a smart home or IoT project. Its features, ease of integration, and affordability make it appealing; however, be mindful of the potential interference from the ESP-01 heat output. Overall, it’s a valuable addition to your technology toolkit.