When it comes to maintaining the efficiency of your Hoover Smartwash Automatic Carpet Cleaner, replacing the vacuum belt is crucial. In this comprehensive guide, we will delve into the features, benefits, and maintenance tips regarding the vacuum belts replacement that promise optimal performance for your cleaning tasks.
Product Features
| Feature | Description |
|---|---|
| Compatibility | Designed for Hoover Smartwash Automatic Carpet Vacuum Cleaner |
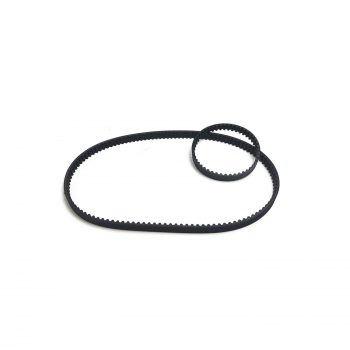
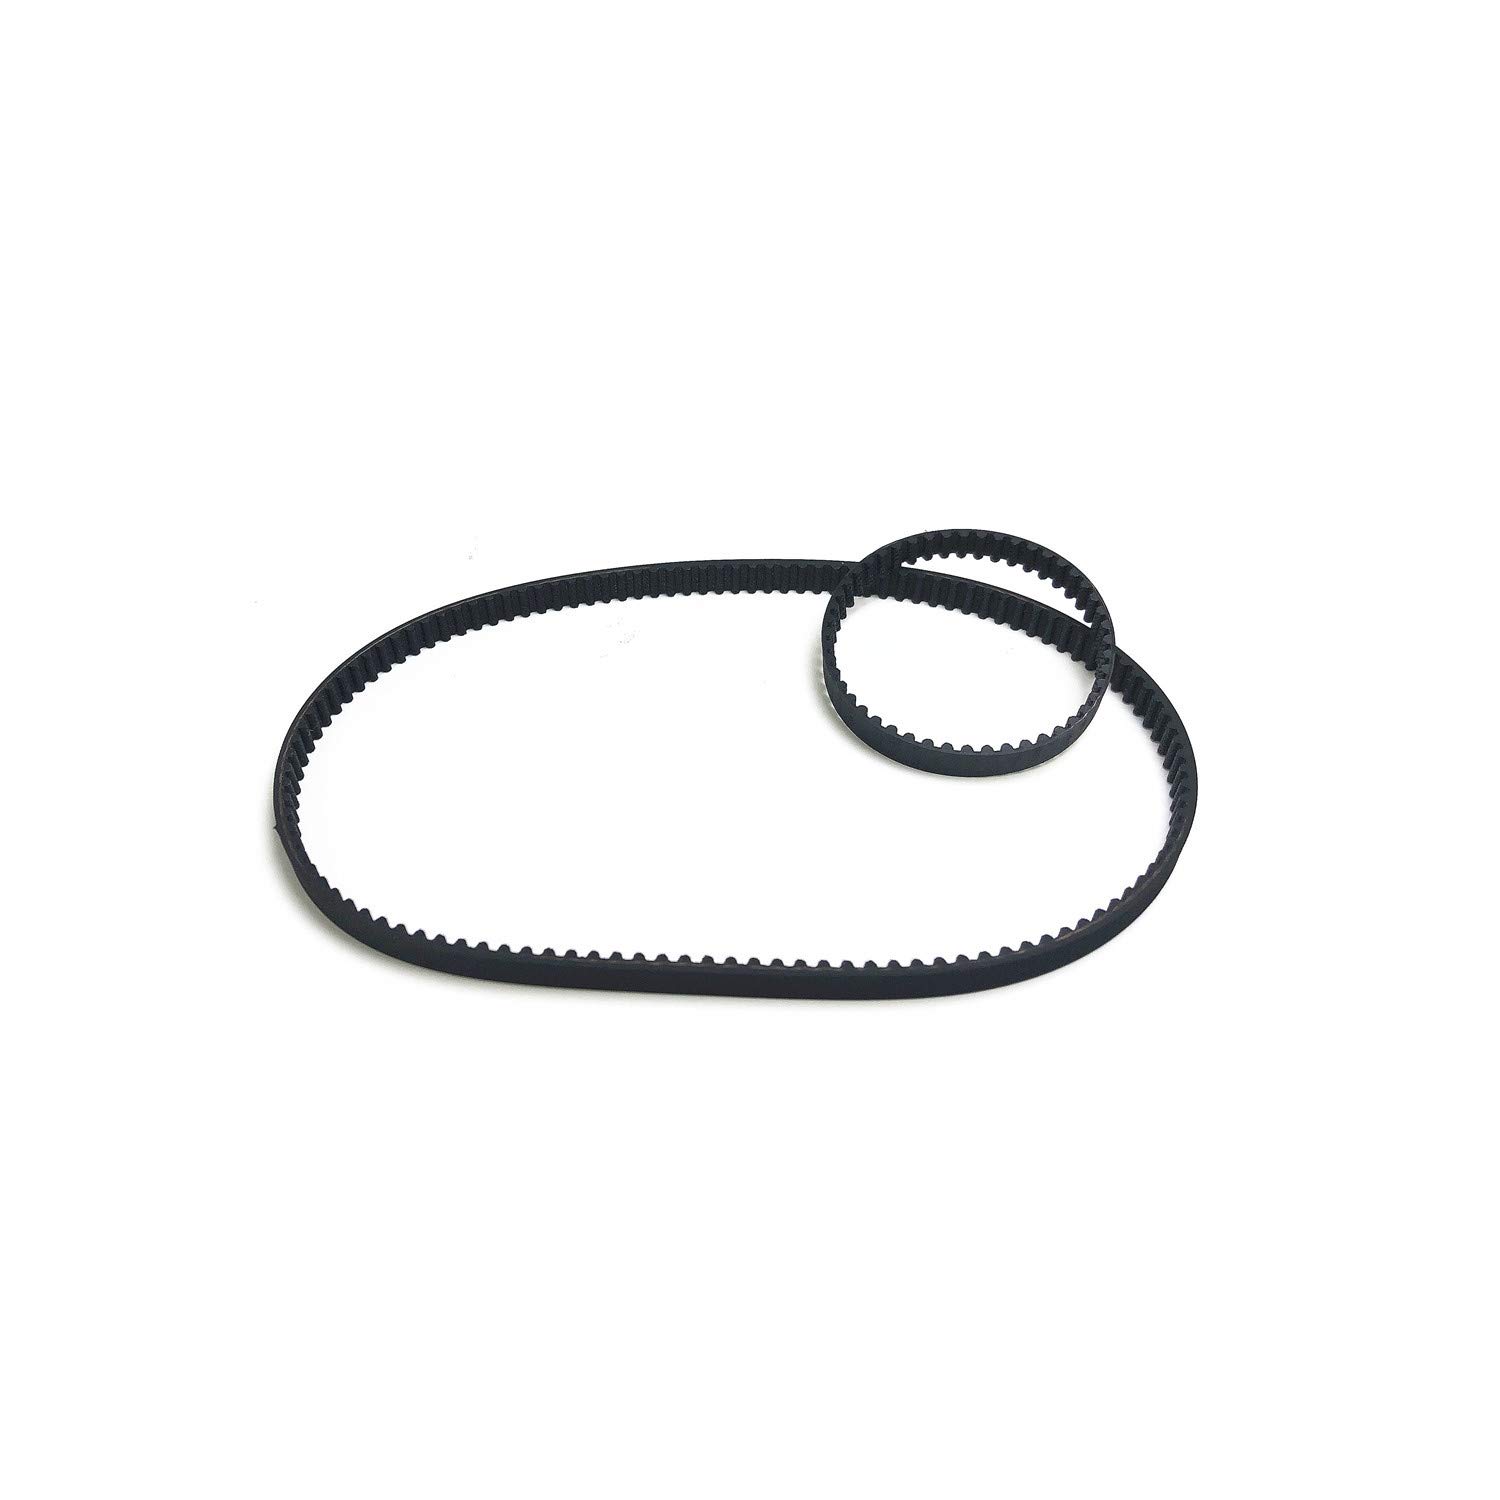
| Included Items | 1-Sets belt (Short and Long belt) |
| Model Compatibility | Fits Models: FH52000, FH52001, FH52002, FH52005, FH53000PC Series |
| Maintenance Recommendation | Replace belt every 6-12 months for optimum performance |
| Satisfaction Guarantee | 30-day unconditional refund on defective products |
Product Overview
| Pros |
|---|
| Compatible with multiple Hoover Smartwash models |
| Includes both short and long belts for convenience |
| Easy to replace for hassle-free maintenance |
| Cons |
|---|
| May not fit other non-Smartwash Hoover models |
| Must be replaced regularly to maintain performance |
Understanding the Importance of Vacuum Belts
Understanding the Importance of Vacuum Belts
Vacuum belts are a crucial component of the Hoover Smartwash Automatic Carpet Cleaner, responsible for ensuring that your carpet cleaner operates at peak performance. These belts facilitate the powerful suction and agitation functions that allow the cleaner to lift dirt, stains, and debris from your carpets and upholstery effectively. When the vacuum belt is in good condition, it works smoothly to transfer the motor’s energy to the brush roll, which is essential for both scrubbing and sucking capabilities.
However, over time, these belts can wear out due to constant usage, heat, and friction. Signs of a worn-out belt include a decrease in suction power, unusual noises during operation, or the brush roll not spinning as it should. If you notice that your Hoover Smartwash is not cleaning as effectively, it may be time to check the condition of the vacuum belt. A faulty belt can severely impact cleaning effectiveness, leaving dirt and stains behind, which can be especially frustrating when you’re trying to maintain a spotless home.
Replacing a worn belt is not just about restoring performance; it can extend the life of your carpet cleaner. By recognizing the importance of vacuum belts and monitoring their condition, I can ensure that my Hoover Smartwash always delivers the cleaning power I need.
How to Properly Replace Your Hoover Vacuum Belt
Replacing the vacuum belt in your Hoover Smartwash is a straightforward task that can significantly revive your cleaner’s efficiency. First, gather the essential tools: a flathead screwdriver, a pair of scissors, and, of course, a new vacuum belt specifically designed for your model. Before starting, make sure the cleaner is unplugged to ensure safety.
Begin by removing the cleaner’s nozzle cover. You may need to use the flathead screwdriver to gently pry it off. Once exposed, give the belt a closer inspection. If it’s worn or broken, carefully cut it away with the scissors. Slide the new belt onto the motor shaft and align it with the brush roll, making sure it fits snugly.
As I put the nozzle cover back in place, I usually double-check that everything is aligned properly. This small step ensures the cleaner functions as intended. It’s good practice to perform regular maintenance on your new belt, like checking for frays or signs of wear every few months. Keeping the belt clean and free of debris can help prolong its life, allowing my Hoover Smartwash to deliver optimal performance for years to come.
By understanding the steps involved and adhering to proper maintenance techniques, I can keep my carpet cleaner operating smoothly, ensuring my carpets remain immaculate and fresh.
How to Properly Replace Your Hoover Vacuum Belt
Replacing the vacuum belt in your Hoover Smartwash Automatic Carpet Cleaner is crucial for maintaining optimum performance, and I’m here to help you do it right. First, gather your tools: you’ll need a flathead screwdriver, a Phillips screwdriver, and possibly some scissors if you need to trim any old, frayed bristles that may interfere with the belt. Remember to unplug the cleaner first to avoid any electrical hazards.
Start by turning your cleaner upside down so that you can access the bottom plate. Use the Phillips screwdriver to remove the screws securing the plate. Once you have the cover off, gently lift out the brush roll; this is where the belt resides. Inspect the old belt for any signs of wear or tearing. If it looks damaged, it’s definitely time for a replacement.
Slide the new belt onto the motor shaft, ensuring it’s seated properly, and then loop it around the brush roll before reassembling everything. It’s helpful to keep the orientation noted during disassembly so you won’t struggle to fit pieces back together.
To prolong the life of your new belt, regularly clean out any hair or debris caught in the brush roller. Make it a habit to check the belt for wear every few months, especially if you use your vacuum frequently. This simple maintenance can save you time and ensure that your Hoover Smartwash Carpet Cleaner performs at its best for years to come.
Conclusions
In summary, replacing the vacuum belt is an essential part of maintaining your Hoover Smartwash Automatic Carpet Cleaner. By understanding the importance of the belt and how to effectively replace it, you can enhance your cleaning performance and prolong the life of your vacuum cleaner. Stay proactive with regular maintenance for the best results.