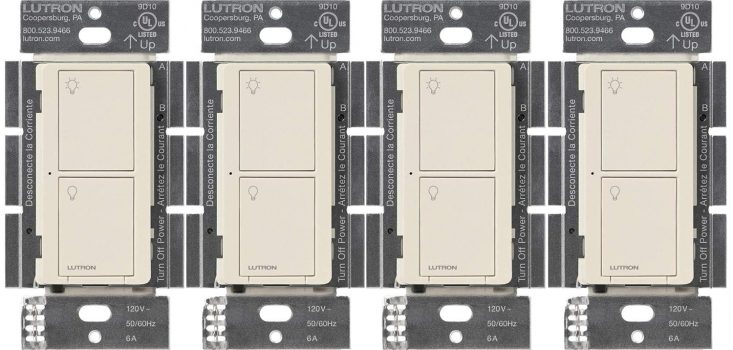
In today’s fast-paced world, home automation is becoming essential for convenience and efficiency. The Lutron Caseta Smart Lighting Switch provides an innovative solution for controlling lights and fans from anywhere. With its easy installation and compatibility with various smart home devices, this product elevates your home lighting experience to a whole new level.
Product Features
| Feature | Description |
|---|---|
| Easy Installation | Replaces existing switch and installs in as little as 15 minutes. |
| Neutral Wire Required | Requires a neutral wire for installation, ensuring safety and reliability. |
| Seasonal Lighting Adjustments | Automatically adjusts lights with seasonal changes, ensuring your home is always well-lit. |
| Compatibility | Connects with leading smart home devices like Amazon Alexa, Google Assistant, and more. |
| Versatile Control | Control lights via the Lutron app, voice commands, or manually from the wall. |
| Wireless Remote Control | Pair with a Pico remote for convenient lighting control from anywhere in the home. |
| Easy 3-Way Setup | Mount the Pico remote for a 3-way installation without cutting holes. |
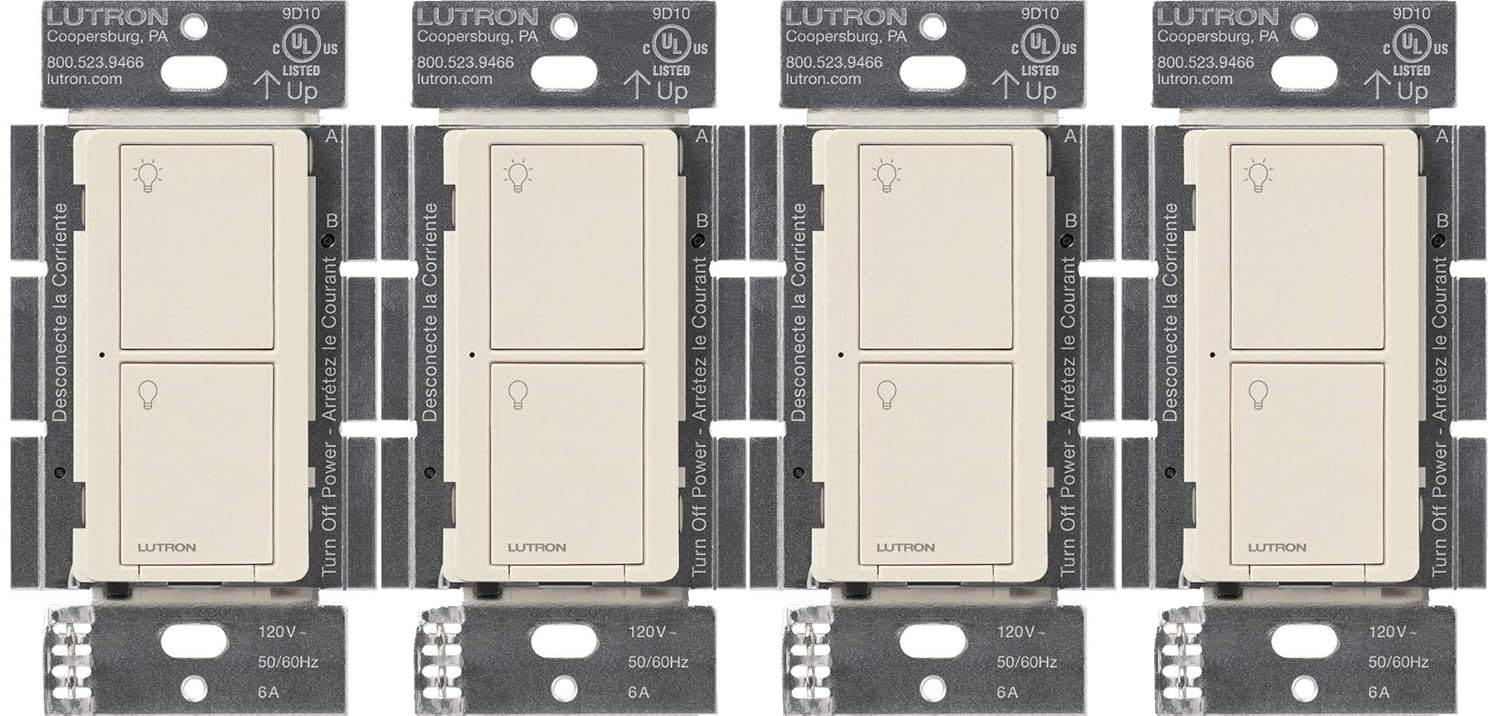
| Technical Specs | Works with up to 720-Watts of incandescent/halogen, 6A of LED, or 3.6A of fans. |
| Contents | Includes 4 Caseta switches; coordinating wall plate sold separately. |
Product Overview
| Pros |
|---|
| Easy installation without professional help. |
| High compatibility with other smart devices. |
| Energy-efficient control of home lighting. |
| Cons |
|---|
| Neutral wire is required, limiting installation in older homes. |
| Additional costs for coordinating wall plates and Pico remotes. |
Understanding Smart Lighting Technology
Installing the Lutron Caseta Smart Lighting Switch is a straightforward process that anyone can accomplish with a bit of guidance. First, ensure you have a compatible setup. You’ll need to check if your home has neutral wires in the switch box, as this is crucial for the switch to function correctly. If you don’t have a neutral wire, don’t worry. Lutron offers a Caseta switch that works without it, though it may limit some features.
To start installation, turn off the power at the circuit breaker to ensure safety. Then, carefully remove your current switch by unscrewing it from the wall. After that, connect the Lutron switch by matching the wires according to the color coding: black to black (line), red for load, and white for neutral, if applicable. Once connected, secure the switch back in the box and screw it in place. Restore power and download the Lutron app to easily manage your settings.
Maximizing your experience with the Lutron Caseta doesn’t stop at installation. I enjoy setting up schedules to control my lights automatically, making mornings easier and evenings cozier. It’s also compatible with various smart home systems, like Alexa and Google Assistant, allowing for voice commands. Users rave about the convenience of controlling their lighting from anywhere via their mobile devices. One user even mentioned how they sync their lights with sunset times, creating a seamless atmosphere. This product genuinely enhances home living, allowing for effortless energy conservation while adding comfort and style to any room.
Installation and User Experience with the Lutron Caseta
Installing the Lutron Caseta Smart Lighting Switch is a straightforward process that transforms your home’s lighting experience. First, ensure that you have the necessary tools: a screwdriver, wire strippers, and potentially a voltage tester for safety. You’ll need to check if your current wiring includes a neutral wire, as it is essential for installing this switch. If your existing switch setup doesn’t have a neutral wire, the Lutron Caseta may not work as intended, so double-check before you begin.
To start, turn off the power at the circuit breaker for safety. Remove the existing switch cover and unscrew the current switch from the electrical box. Carefully disconnect the wires attached to the old switch, noting their placement for proper reconnection to the Caseta. Typically, you’ll have a line wire, a load wire, and a ground wire to connect. Once everything is detached, connect the wires to the corresponding terminals on the Caseta and secure it in the box. After reattaching the faceplate, restore power and use the Lutron app to pair your switch to your Wi-Fi network.
Once installed, maximizing your experience is key. I love scheduling my lights via the app; it’s effortless to set specific times for lighting to turn on or off, enhancing my home’s security while I’m away. Integrating it with other smart devices, like voice assistants, means I can control my lighting with simple commands. Feedback from users highlights the ease of use and clarity of the app interface, which further enhances the overall experience. Many have shared that the ability to adjust lighting levels and set scenes based on activities has completely transformed their everyday routines, making the Lutron Caseta not just a switch but a vital part of their smart home ecosystem.
Conclusions
The Lutron Caseta Smart Lighting Switch is a game-changer for anyone looking to update their home lighting. It offers seamless integration with your smart home while providing remarkable convenience and control. For those ready to elevate their lighting experience, investing in the Lutron Caseta is undoubtedly a step in the right direction.